Creating a project
A project is where your repositories live inside an organization. Creating one takes just a few steps, and Panorama guides you the whole way.
Starting a new project
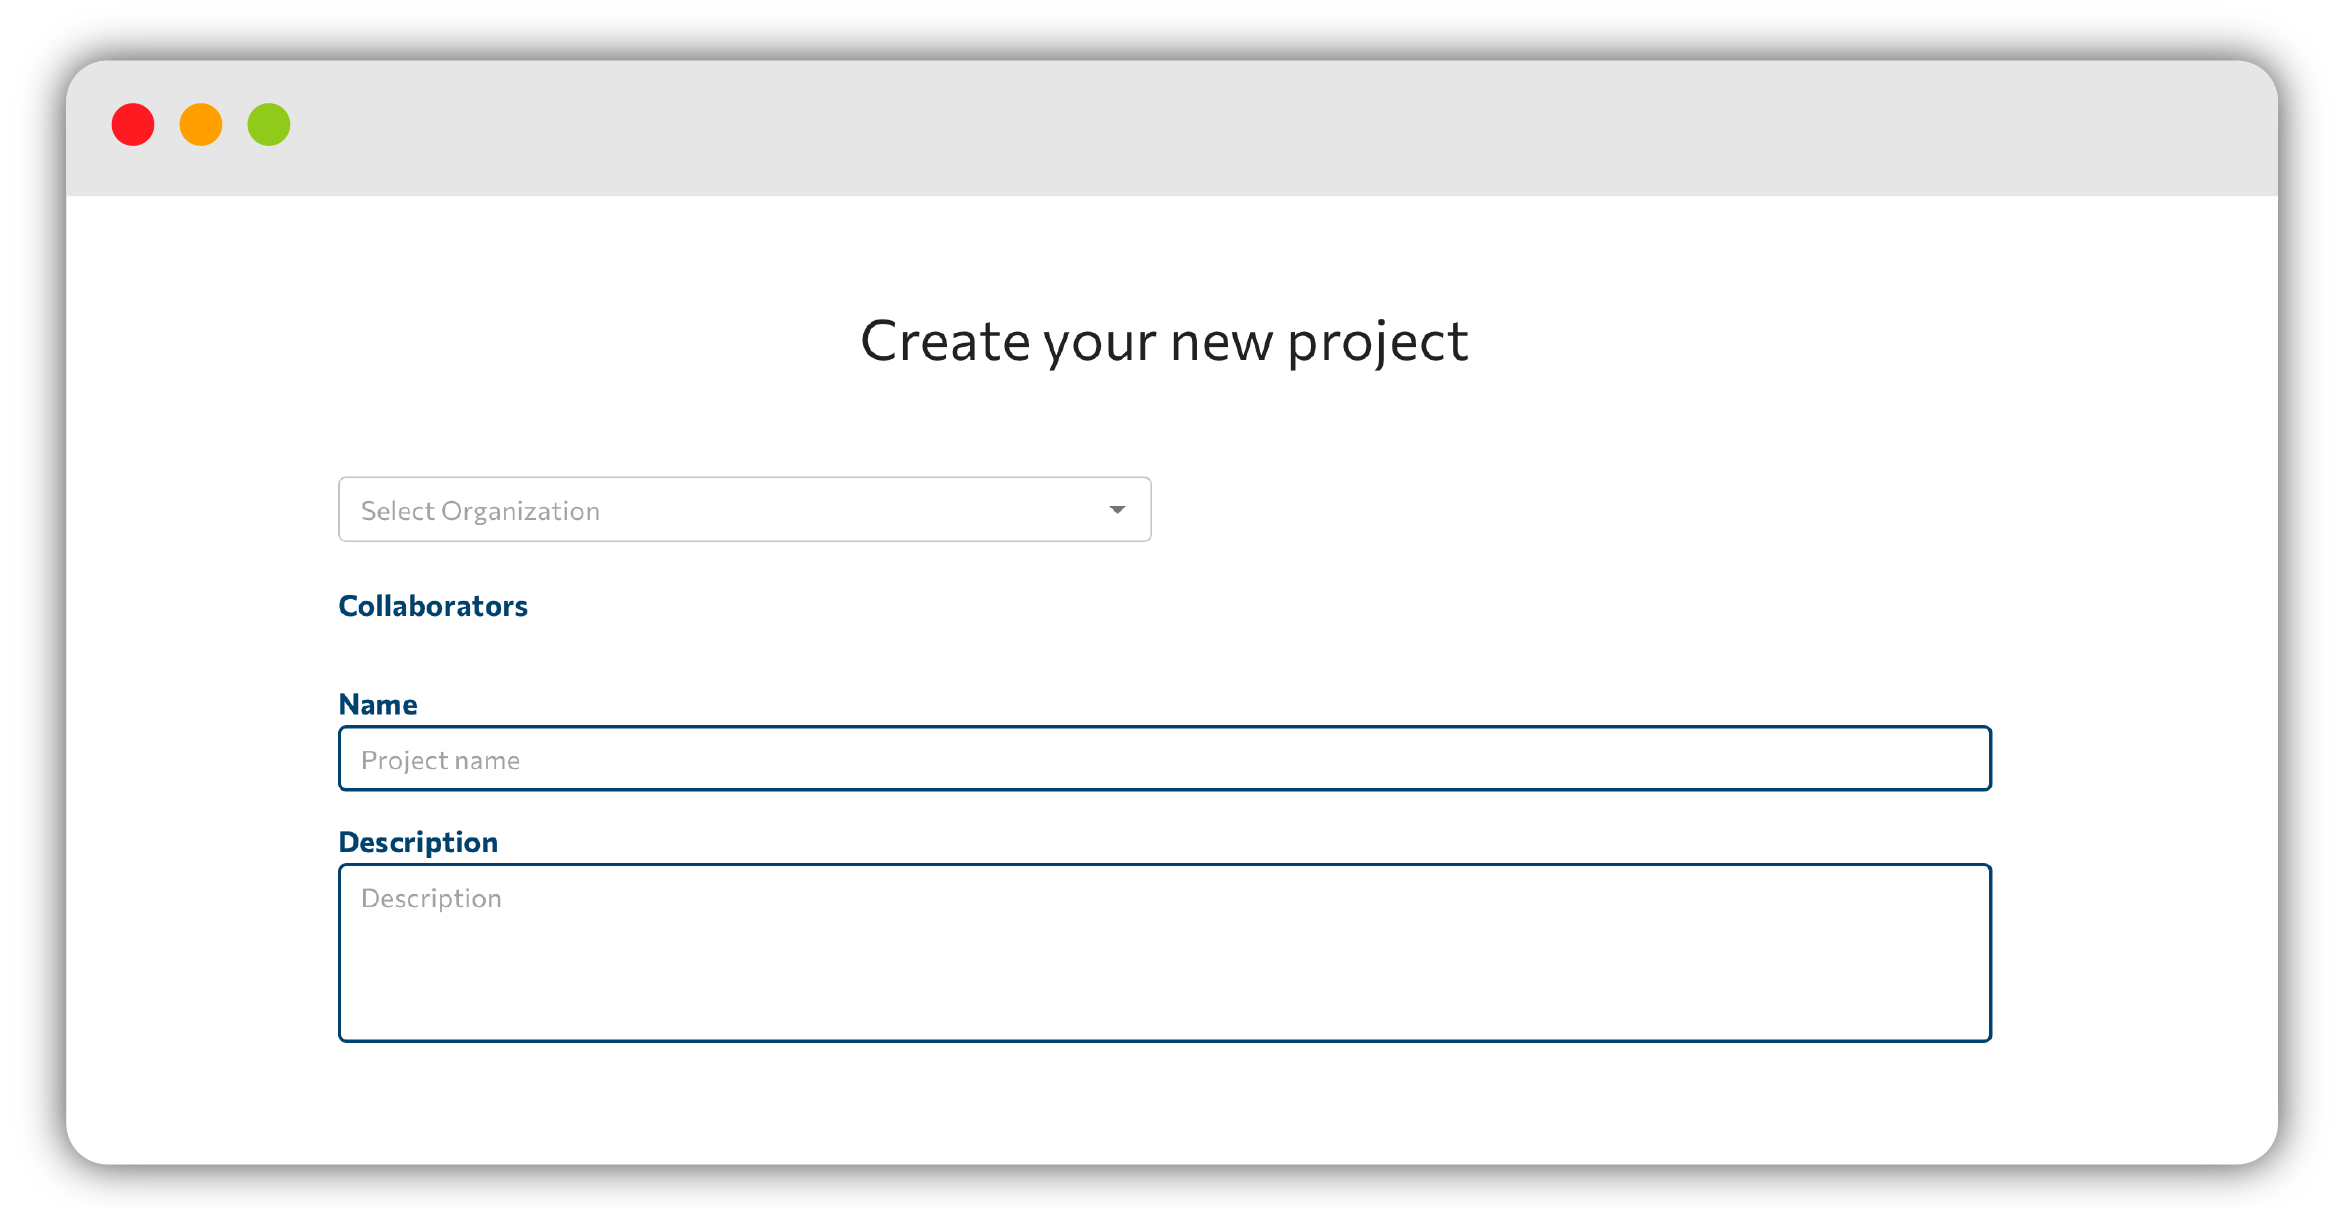
Click Create Project to open the Add Project screen, titled Create your new project. From here:
- Choose the organization the project belongs to under Select an Organization.
- Enter a Project name and a Description.
Adding repositories
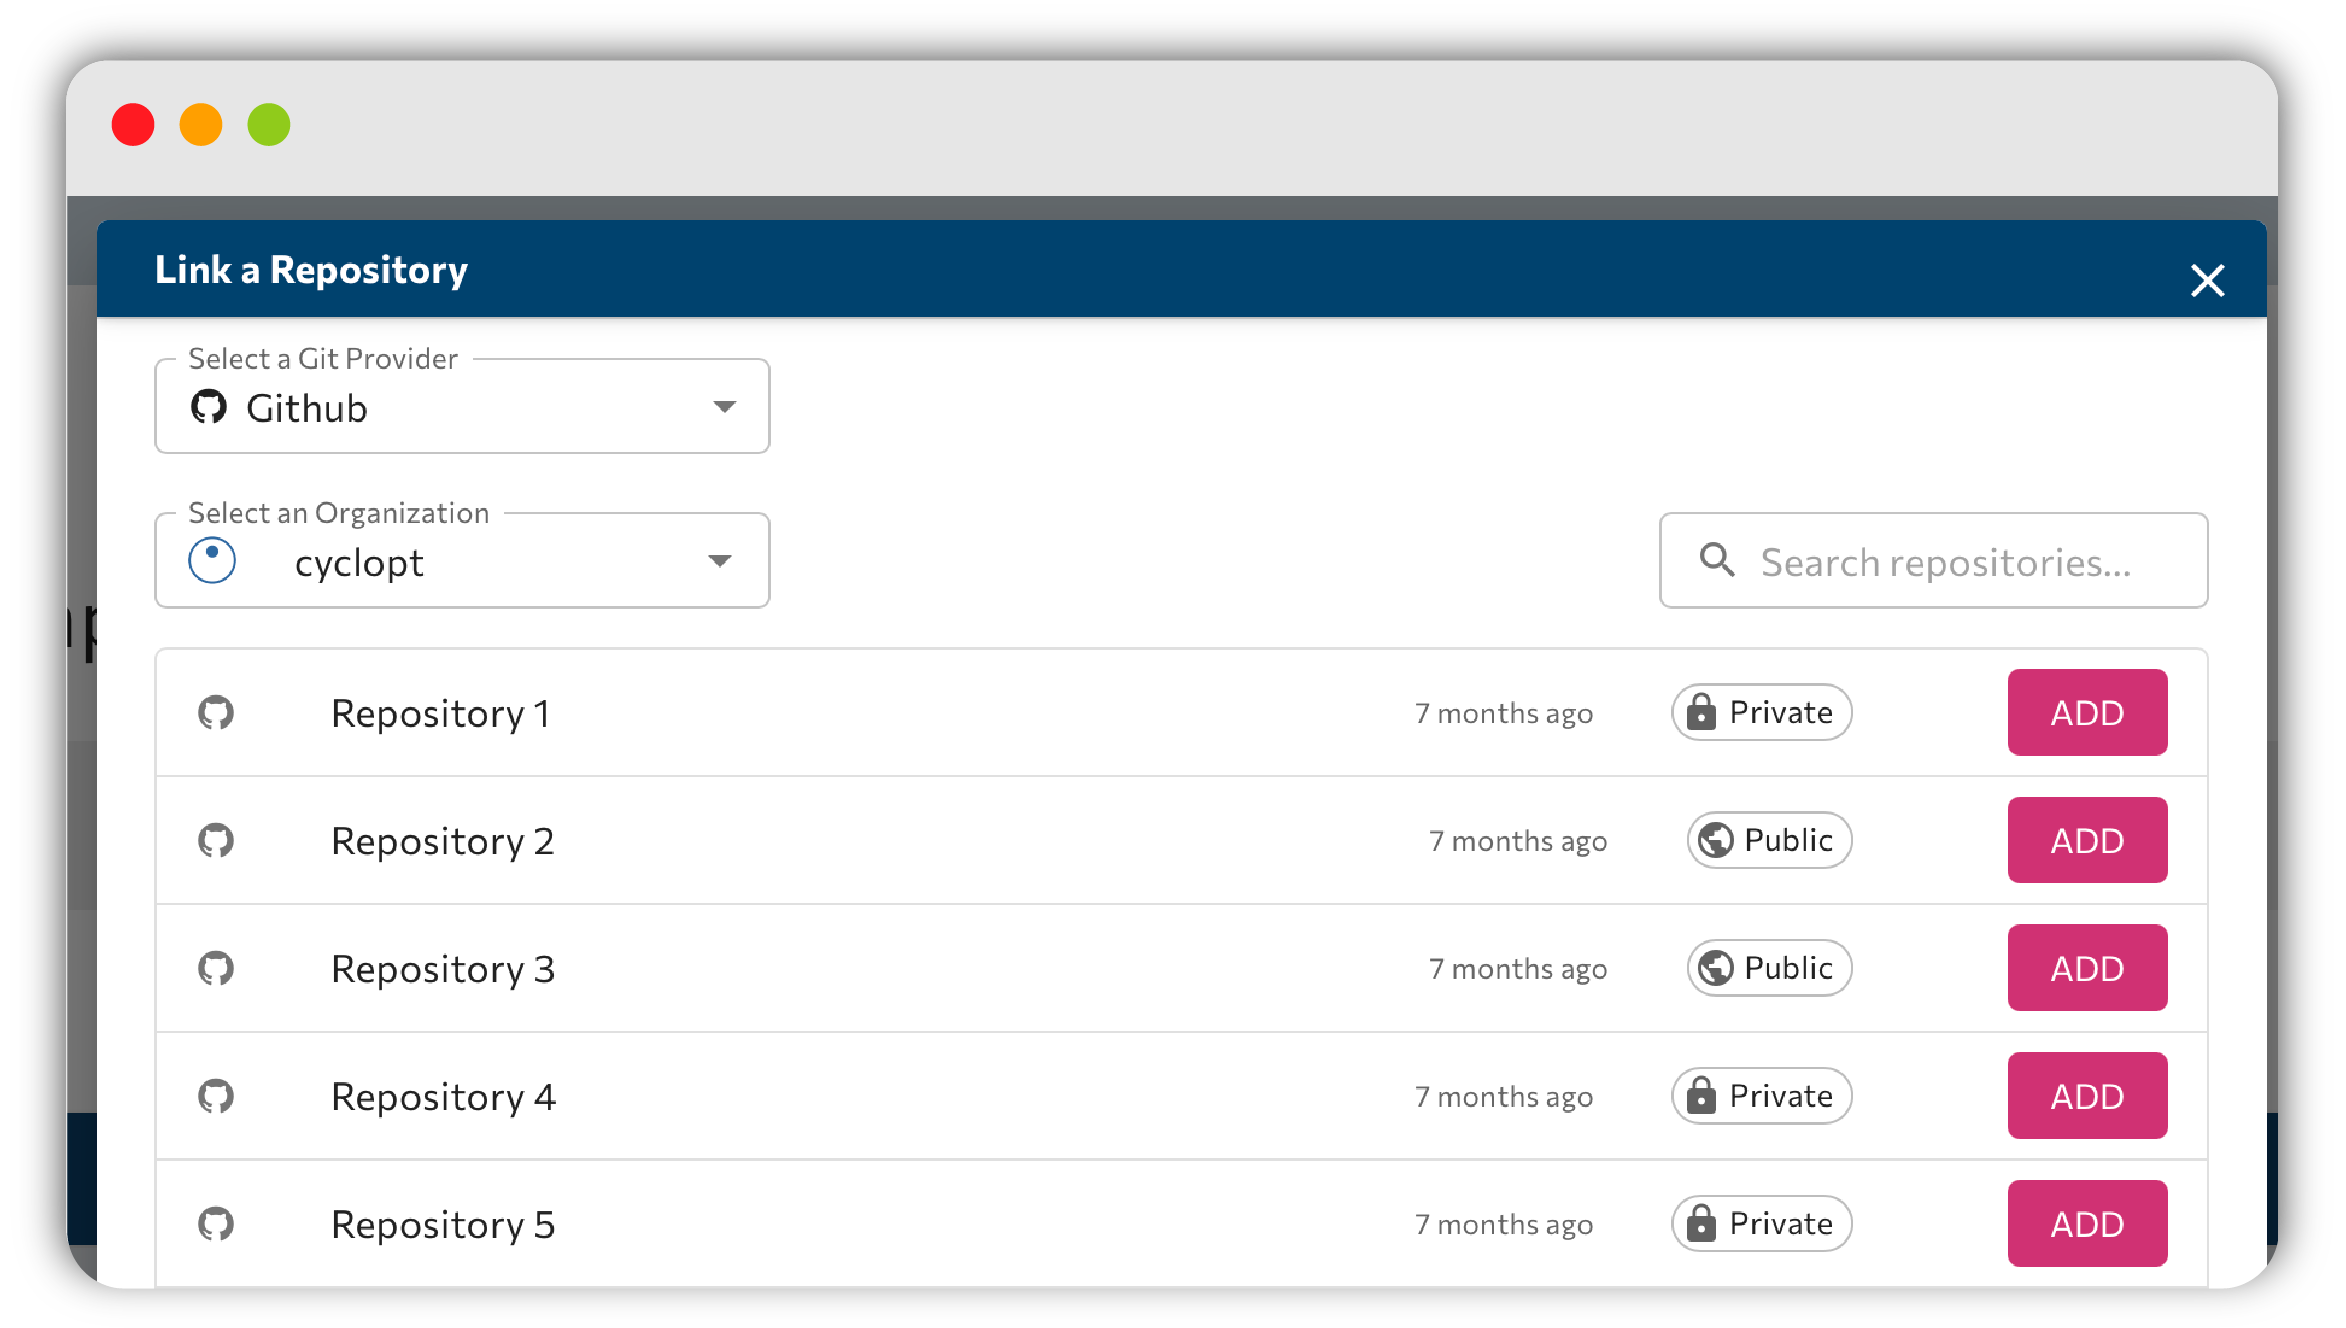
You can add repositories by choosing the organization, pick the repo, and click ADD. For Azure accounts, you can paste a repository link and click ADD.
For each repository, set the language, the Production branch and Staging branch, and whether Panorama should analyze the Whole repository or a subfolder.
As you add a repo, Panorama validates it and shows messages such as:
- Repository is valid.
- Repository doesn't exist or you don't have access.
- This language was not found in the repository
While your project is being created you'll see Adding your project. Please don't close this window! Keep the tab open until it finishes.
Finishing up
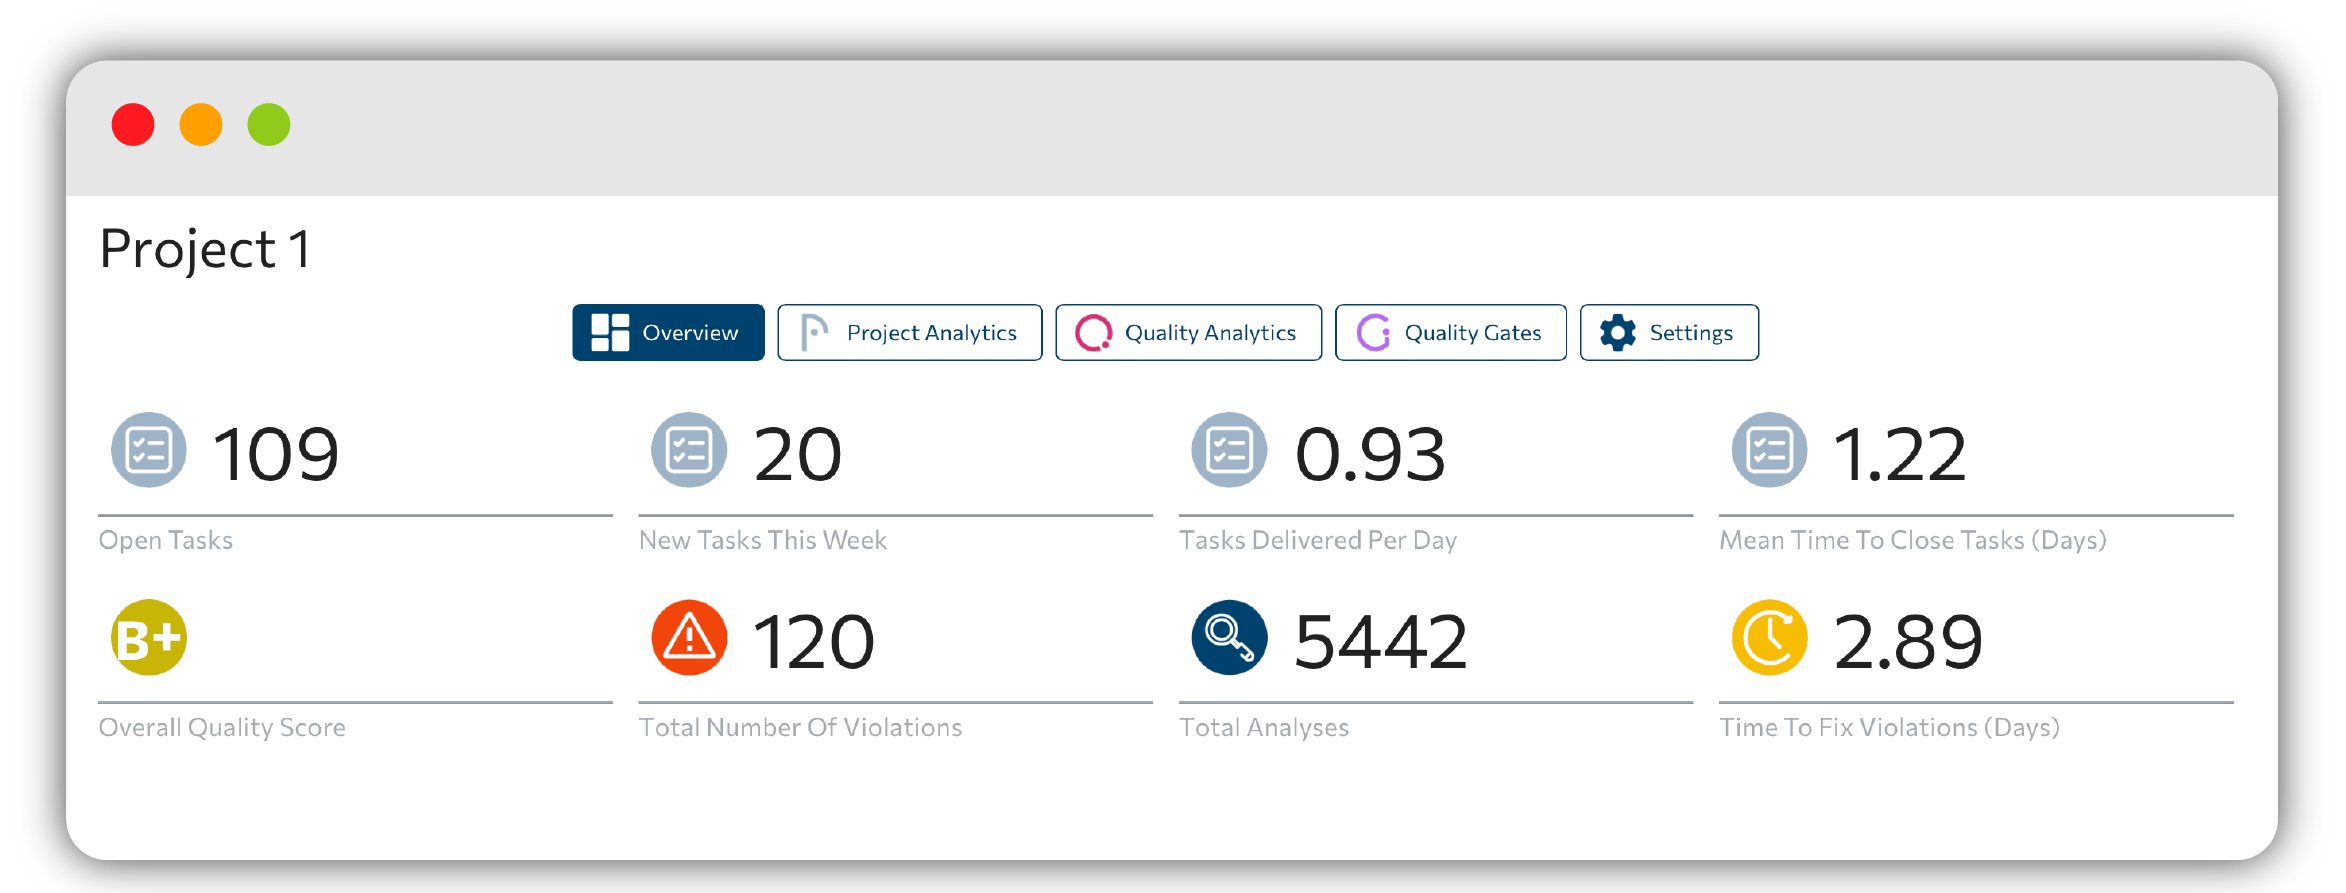
When everything is set, click Done, then Navigate to Projects Overview to see your new project in action.
Next step: head to Projects & overview to explore what you just created.